 Reining combines speed, control and exciting maneuvers that will make your heart pound. Each of the moves in a reining pattern is designed to show how athletic and well-trained your horse is. The sport originated from the maneuvers of a good ranch horse working cattle.
Calculating Reining Moves
Reining Moves Glossary
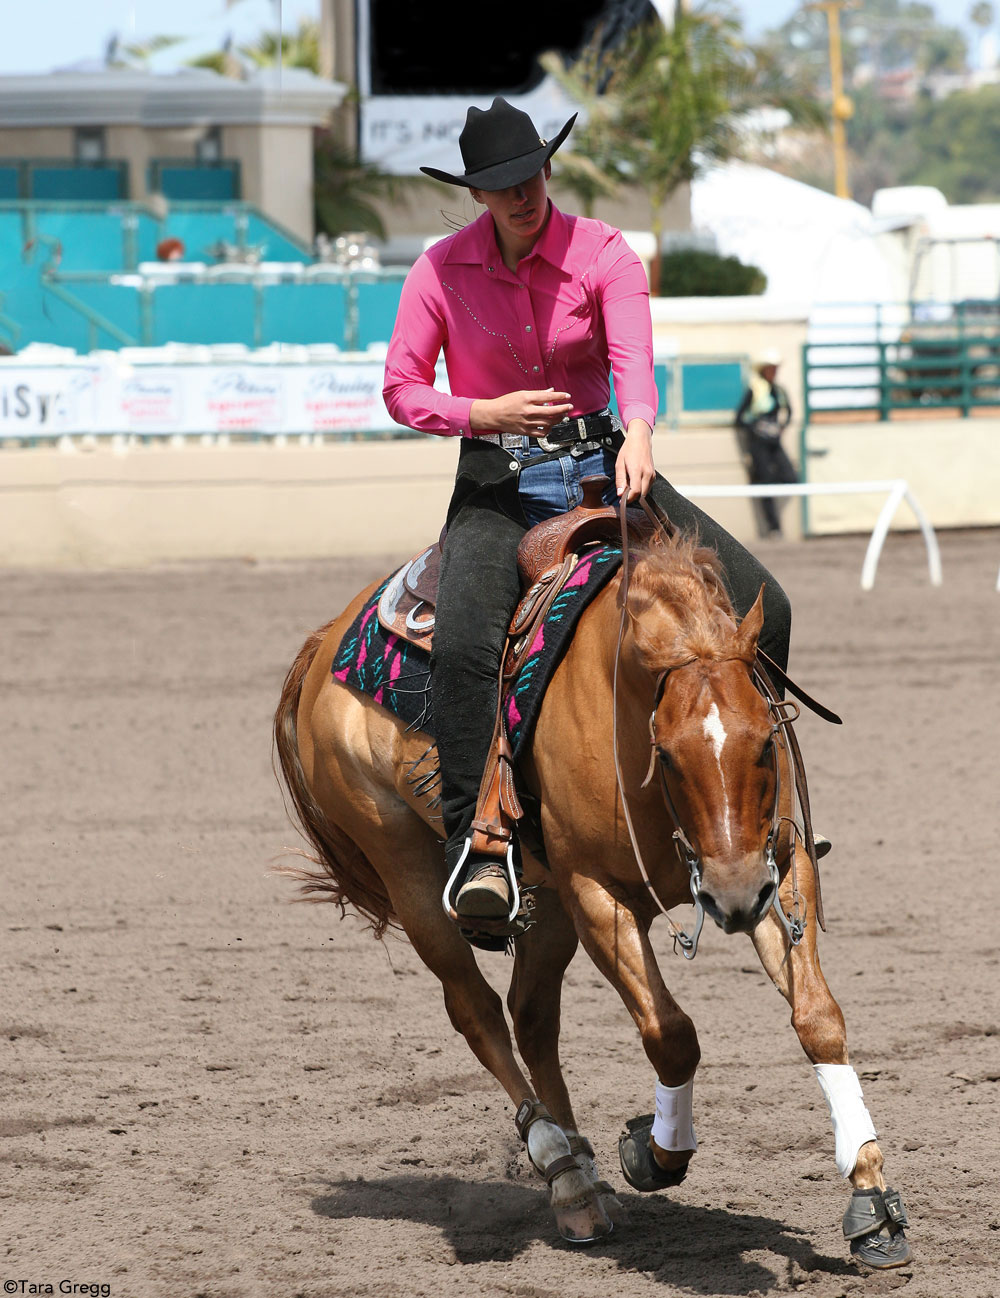
Circles
The maneuver: A common reining move is the circle. Anchored in the center of the arena, you’ll do a combination of two large, fast circles at a lope and one small, slow lope circle in each direction. There will also be at least two flying lead changes.
“You want your horse to be listening to you,” Nathan says. “Wherever you point your rein hand, you want him to go that way, with his body right between your hands and legs. You want to have the ultimate control of your horse’s speed—run fast and then slow down when you ask.”
How to plus it: A noticeable difference in speed.
“If you can have a big slowdown from running fast right up to the middle, and then go right into a pleasure lope, that will impress the judges,” Nathan says.
Watch out for: Falling out of the correct lead because you’re running too quickly or missing your lead change.
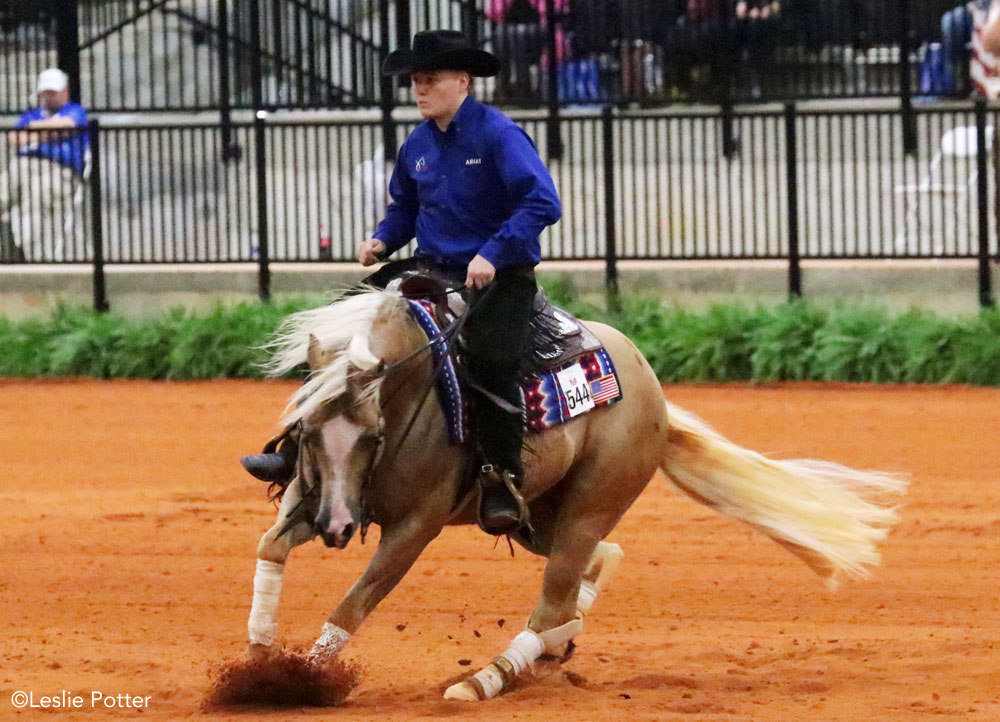
Spins
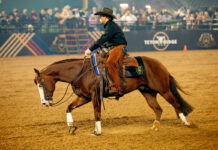
The maneuver: Another reining move are spins. At the center of the arena, you’ll ask your horse to quickly rotate his front end in a circle around his stationary hind end, moving like clock hands. Four complete turns are performed in each direction.
“You lay the rein on your horse’s neck and he should get on his hocks and have cadence with his front end to go around four times, and when you put your hand down, he should stop on a dime,” Nathan says.
How to plus it: The faster and more cadenced you can spin, the better.
“It’s one of the most fun moves in reining—it’s like riding the spinning teacups at Disneyland,” Nathan says.
Watch out for: Sloppy starts and stops. Over- or under-turning can result in penalties.
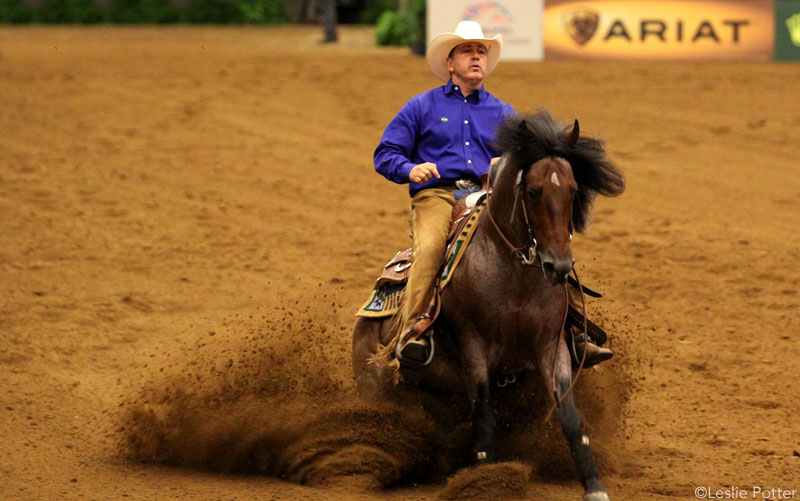
Sliding Stop
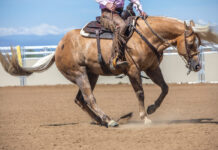
The maneuver: The sliding stop is a very well-known reining move. Beginning at one end of the arena at a lope, you’ll ask your horse to gradually build speed until he’s running, then ask him to stop with a “whoa” and body language. Your horse should drop his hind end to the ground, and if he’s got special hind shoes called “sliders,” he’ll slide on his hind end, paddling his front feet till he’s fully stopped.
“You want the horse’s neck balanced and his front end walking while the hind end is sliding,” Nathan says.
How to plus it: Adding speed to a correct stop will up the “wow” factor.
Watch out for: The horse failing to stop properly or throwing his head due to poorly-timed rein cues.
Rollback
The maneuver: After some stops in the pattern, the horse will pause for a moment, then you’ll cue him to pivot 180 degrees and lope off in the opposite direction.
“It’s important for the stop and rollback to look fluid—that comes from stopping, putting your hand on his neck, pausing for one second and then rolling right back,” Nathan says.
How to plus it: A quick, smooth, snappy move.
Watch out for: Pausing too long, which makes the stop look like a separate maneuver, or trotting out of the rollback.
Backing
The maneuver: On at least one stop in the pattern, your horse will be required to immediately back a horse length or two.
“When the horse is stopping, you want him to be thinking about backing,” Nathan says.
How to plus it: A horse that backs willingly will get bonus points over a horse that’s resistant.
“In an ideal backup, the horse is hustling backwards [with little] rein pressure, if any,” Nathan says. “I want him to feel my weight in the stirrups with my heels down, and then hustle backward without a lot of help.”
Watch out for: Resistance to backing, backing crookedly, or not backing far enough will all cost you points.
This article originally appeared in the March/April 2019 issue of Young Rider magazine. Click here to subscribe!

