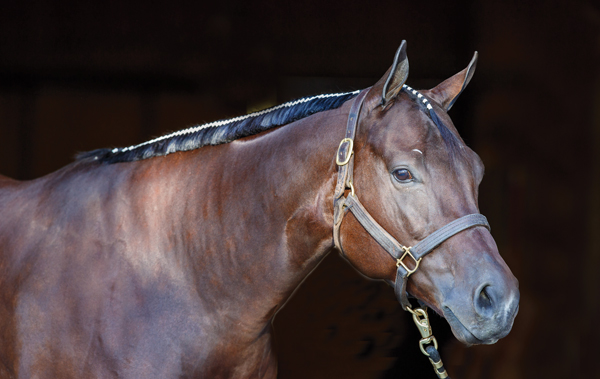
Banding your horse’s mane can be a challenge. But you don’t have to resign yourself to a messily banded mane or having to pay someone else to do the job. Jess Duffy, assistant trainer at Aaron Moses Show Horses in Pilot Point, Texas, shares tips to make your horse’s banded mane look neat and uniform. With some practice, you can make your horse’s mane look professionally banded—and maybe even offer your services to other riders for extra cash.
Why Band a Mane?
“A good banding job gives a finished look, especially if you have white bands and they’re all in a nice line,” says Duffy. “It just gives an edge over your competition.”
Duffy says halter horses are often banded with rubber bands that match the mane. These days, white bands are king in the other events.
Getting Started with Mane Banding
Before you start, wash your horse’s mane and allow it to dry; no conditioner needed. Your horse’s mane should ideally be about 4 to 5 inches long. You’ll be trimming it to about 2 inches long after you band, so don’t worry about making it the perfect length just yet. Duffy doesn’t thin the mane.
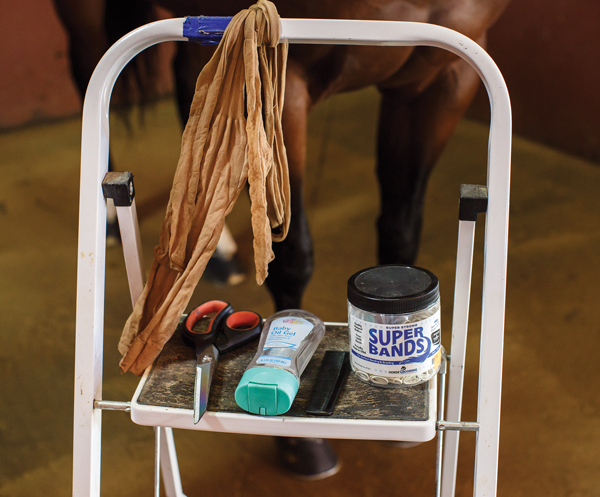
Then assemble your tools. Duffy uses Super Band white bands, a small comb, baby oil gel, a very sharp pair of scissors and a pair of pantyhose.
The Process of Mane Banding
Duffy starts at the base of the neck at the withers, rather than by the head. “Sometimes if the horse is a bit touchy around the ears, by the time I get up there they’re used to it,” she says.
Duffy learned how to band from her mom, Vicky Gough, who also used pantyhose as a secret tool. She ties the pantyhose around the horse’s neck to help hold back the mane she’s not working with while she bands. “Pantyhose keeps the hair out of the way better than a hairclip would,” she explains.
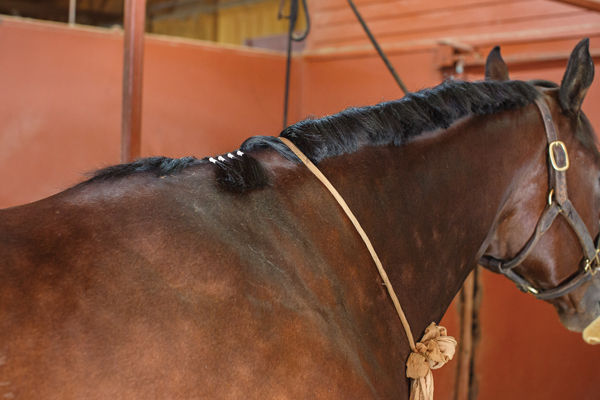
Sectioning off about an inch-wide piece of mane with her comb—making sure the part is perfectly perpendicular to the ground, and each section is the same size as the one previously banded—she’ll dab a bit of baby oil gel on the hair to protect her hands from the friction of the band.
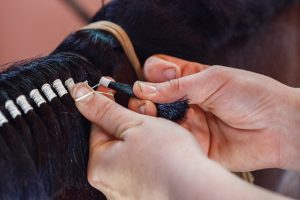
She will then begin twisting the band around from the bottom of where she wants it to lay on the hair to the top, ending closest to the mane after about 12 wraps. As she wraps, she keeps her hands close to the horse’s neck to pull the section down and avoid it sticking up.
“Even if the band isn’t extremely tight, it’s more important to have them in a straight line when you’re done rather than have them all super tight against the neck,” says Duffy. “As you’re working, step back frequently and make sure it’s even.”
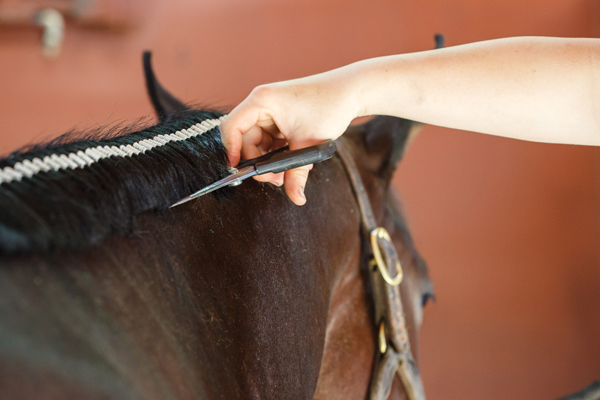
When you’re all done banding, go back with your scissors and trim the ends of the mane so that they’re perfectly even. Make sure to stand back and check your progress, and cut the hair underneath as well.
The Forelock
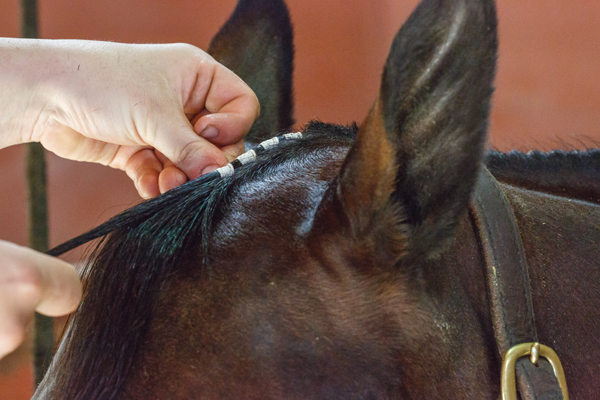
Don’t forget the forelock! Duffy bands down the base of the forelock.
Starting at the top of the poll, make a part so the section is a square of hair. Band just as you did with the mane.
Moving down the forelock at equal intervals, make a part to form a section and band it. Once you’ve reached the end of where the hair grows from the head, make one last section and band it, pulling the back pieces of hair to hold the forelock down to avoid it sticking out.
Troubleshooting
For a multi-colored mane, Duffy would pick one color to band the whole mane. If your horse has a white mane, consider using black bands for contrast.
If your horse has a thick mane, you can make each section slightly smaller. In the thinner part of the mane, avoid making sections too wide.
“You’re better off keeping the width of your sections the same,” says Duffy.
Preserving Your Work
Ideally, you’ll band your horse the day you’ll be showing, leaving little time for your horse to mess it up. Duffy sprays a banded mane with hairspray, then covers it with a slinky hood to protect the bands. A good banding job can last a day or so if the horse doesn’t rub.
This step-by-step guide on mane banding appeared in the June 2020 issue of Horse Illustrated magazine. Click here to subscribe!


