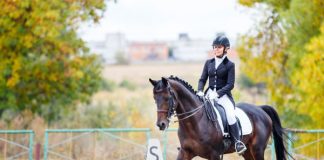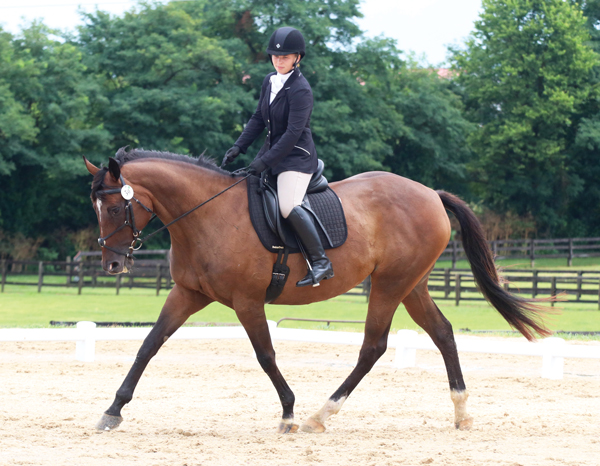
 Dressage is all about being in tune with and riding your horse in a way that helps him build proper muscle and improve your communication. While it might seem intimidating to watch grand prix superstars float around the dressage ring, learning how to get started in dressage is possible for every horse and rider, especially when you apply the ABCs below!
“A” is for Accuracy
While the long-term goal is to have your horse round and on the bit, accuracy is step one for mastering your first dressage tests. If your test says to trot at A, you should start preparing your horse a few strides before the letter for your transition. Sit up tall, half-halt to let your horse know that something is coming, and when his shoulder reaches the letter, make your transition.
You can practice this at home with some simple exercises. Try trotting a circle and picking a specific point in your circle to ask for the walk. Once you get super accurate at doing that, try asking for the canter. If you really want to challenge yourself, try cantering a quarter of the circle, trotting a quarter, walking a quarter, moving back up to the trot and then cantering again.
Working on sharpening up your transitions will not only greatly improve your dressage scores but also how well you communicate with your horse—on the trail, over fences, and doing all other horsey activities!
“B” is for Bend
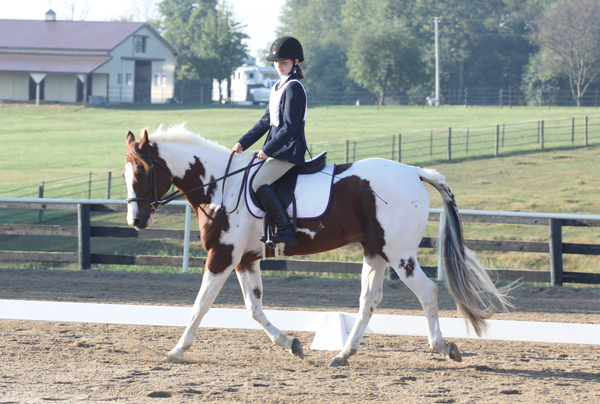
You might have heard someone say to “bend the horse around your leg,” but what does that mean? You want the horse to be bent in the direction you are traveling while making circles and turns.
The perfect way to get a feel for this when you are getting started in dressage is by spiraling in on a circle, starting large and gradually making your circle as small as you feel comfortable. While spiraling in, keep your inside leg solidly on your horse’s side for support, and keep a gentle contact on your outside rein. Think about pushing your horse’s barrel over with your inside leg while creating a wall with your outside rein to keep them balanced.
When you start making your circle bigger, try to not direct your horse with your reins. Push his body out with your inside leg, and you’ll start to feel him step over and bend around your leg.
However, you don’t want to have him over-bent, either. You should be able to see your horse’s eye on the inside, but if you see much more than that, work on straightening your horse by adding a little more contact with your outside rein.
“C” is for Circles and Centerline
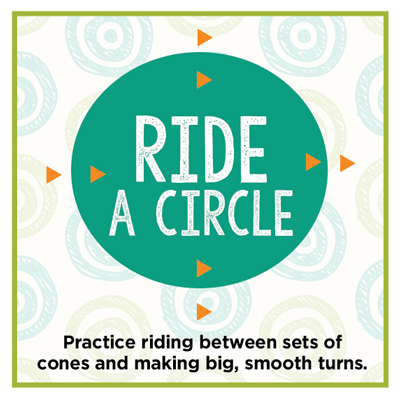 Every single dressage test has two “C” things in it: circles and a centerline. Making the perfect circle takes lots of practice for both you and your horse. It helps to set up four sets of cones in a circle, one set in each quarter of the circle, to help you perfect your geometry.
Practice riding between the cones and work on making a big, smooth turn. In addition, remember that circles don’t have corners! You should touch the walls when you circle, but only for a stride.
When it comes to the centerline, it takes a lot of practice to nail your turn. First, start by riding straight lines down the long side of the ring. It’s easy to rely on the wall to keep going straight, so try turning a few strides before the wall and keeping a consistent distance between your horse and the wall all the way down.
Once you master that, try turning up the center of the ring. It’s helpful to think of your turn as a half circle. Head down the long side like usual, and then make a smooth half-circle to the center of the ring and head straight.
It will also help to find a marker to practice. You can put a cone at the end of the ring, right in the middle, or find a tree or other object to focus on. It’s super easy to accidentally over-adjust or wander way over, so get comfortable making small adjustments to ride a perfectly straight centerline.
Once you get the ABCs down when you get started in dressage, you are well on your way to becoming a dressage rider!
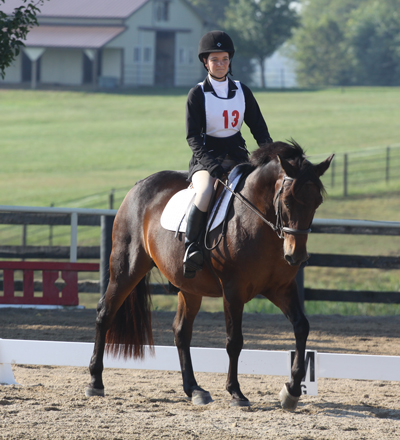
What to Wear to a Dressage Schooling ShowYou’ve practiced and are ready to head to your first dressage show! Maybe you’ve wondered, “What do I need to wear?” Most schooling shows are pretty casual. Check the official rules about clothing beforehand. Below are the basic dressage clothing essentials. A HELMET: A dark-colored helmet is required, but if you don’t have one, you can find a helmet cover to put over yours. BREECHES: Light tan or white breeches are correct in the dressage show ring. TALL BOOTS OR HALF CHAPS: Half chaps made of smooth leather with matching paddock boots are acceptable, or leather tall boots in brown or black. Be sure to wipe off the dust after you mount! A POLO OR SHOW SHIRT: You won’t need to wear a jacket for most schooling shows, but double-check the show bill or local association’s rulebook. Any white or light show shirt with short or long sleeves can transition to a more formal show later (but leave off the neckwear—ratcatcher or stock tie—if not wearing a jacket). A BELT: Tuck in your shirt and put on a belt to polish off your look! |
This article about how to get started in dressage appeared in the Spring 2020 issue of Young Rider magazine. Click here to subscribe!
