- You can ride western in a snaffle or curb bit, depending on what your horse goes best in.
- Your saddle should fit your horse comfortably, not rubbing on his withers.
- Western saddles typically have a simple cinch, but some require a latigo knot.
Western Bridle Basics
When you tack up your horse in western tack, be sure to find a right bridle for him. Western headstalls come in two basic styles. One has a browband, much like an English headstall. The other style, called a “split ear,” lacks a browband. This type only goes around one ear. For general purposes, you can choose whichever style you prefer to use.
There’s a wide variety of western bits available, from simple snaffles to curb bits with shanks. Be sure to use the type of bit that works best for your horse.
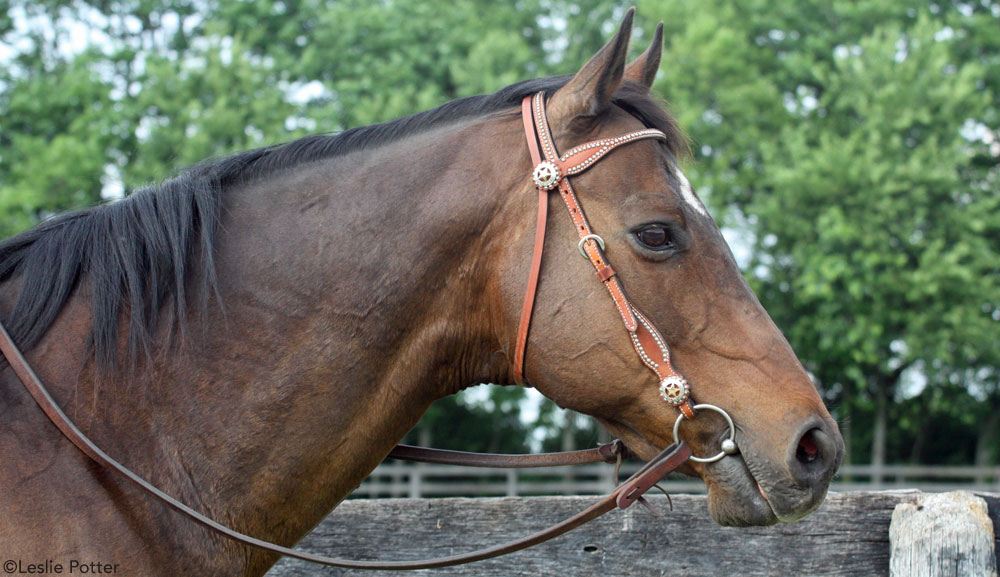
Snaffle bits are ideal for green horses and those guided by direct rein aids, like an English horse. A snaffle must fit correctly. There should be a slight smile (not a fold or wrinkle) at each corner of his mouth.
Curb bits, which include a shank, should only be used on horses that already know how to neck rein. They sit lower in the mouth than a snaffle, creating only a gentle lift at the corners of the mouth. Curb bits always have a curb strap, which rests against your horse’s chin. Every time you pull back on the reins, the curb strap squeezes against this area. Adjust the chin strap so it works properly. You should be able to slip two fingers between the chin strap and your horse’s jaw line.
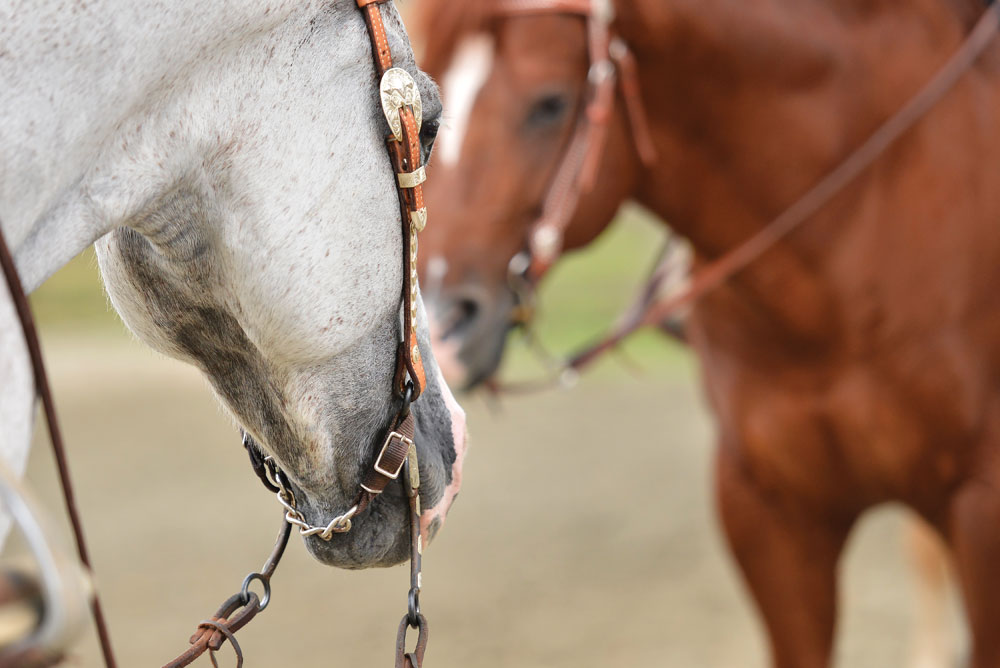
A bridle that fits well lets you communicate clearly with your horse.
Saddling up, Simplified
When you tack up your horse in western tack, be sure to find the right western saddle for him. A western saddle should sit atop a pad that’s clean and comfortable. Dirty pads may scratch against your horse’s coat, and a thin, worn pad can create painful pressure points along your horse’s spine. Most pads come with leather wear guards that protect the fabric from saddle rubs. Rectangular wear guards are on each side of the pad with a smaller one that lies across the withers. Lift the pad up ever so slightly above your horse’s withers, forming a little pocket. This helps prevent pressure on the withers.
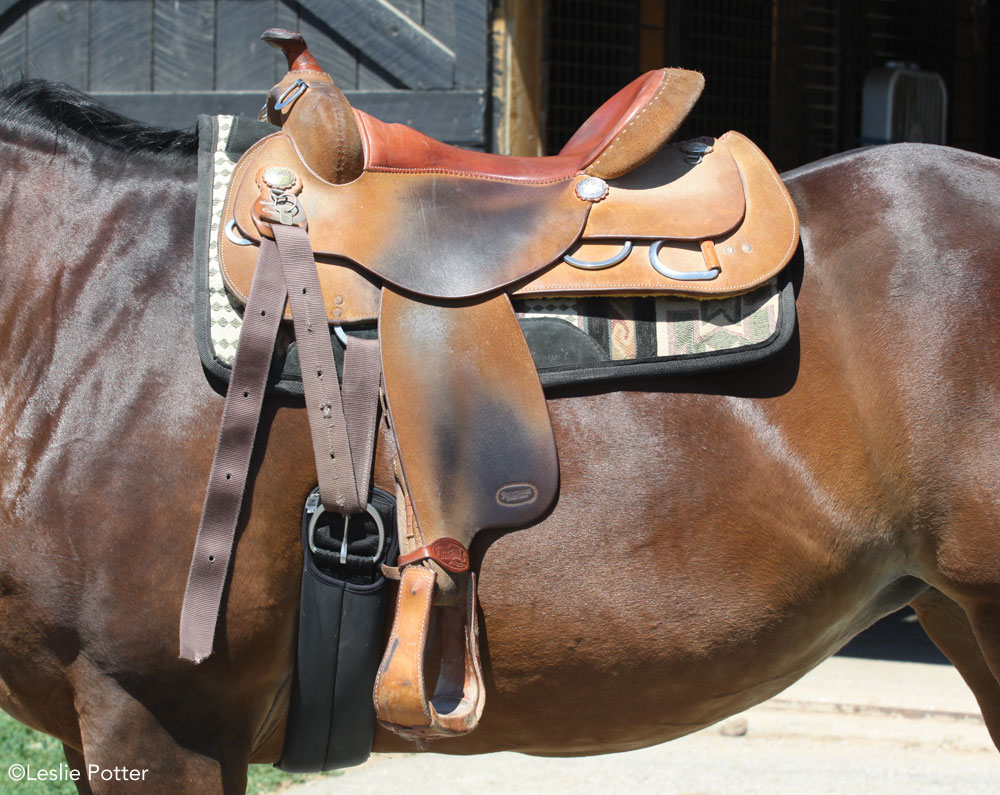
When you set a western saddle on your horse’s back, do so gently. Don’t get in the habit of swinging the saddle up and plopping it down with a thud. That could spook your horse and also make his back sore.
Make Cinching a Cinch!
When you tack up your horse in western tack, be sure to have the correct cinch. Do you have the correct size? A cinch that is too long or too short can irritate your horse and cause your saddle to slip. Have a friend help measure your horse.
Set the saddle on your horse. Use a cloth measuring tape (the kind you use in sewing) and measure from one rigging ring to the other. These metal rings are where the cinch attaches on each side of the saddle. Since you’ll be passing the tape underneath your horse’s belly, move slowly and pat your horse so he isn’t scared. What did you measure? Subtract 16 inches and the result is the size of cinch you’ll need. If you’re in between whole numbers, round up.
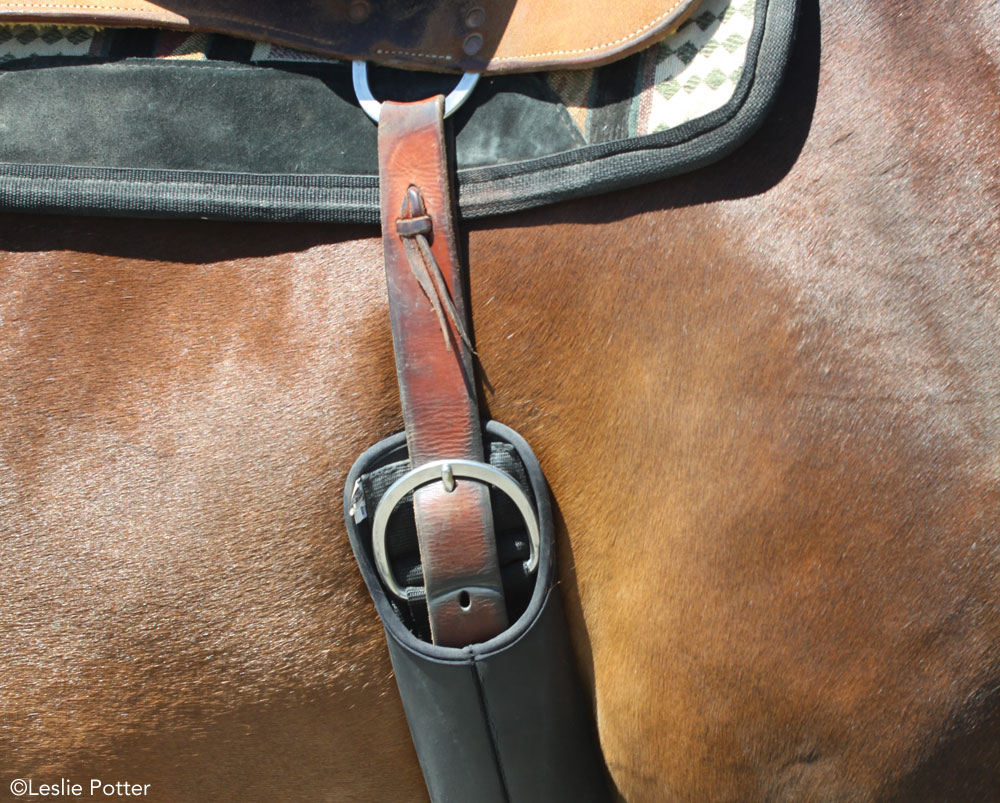
Most cinches have buckles at each end. One end has a keeper or slot for the excess leather. Buckle that end onto the billet, which is the shorter leather strap on the saddle’s right side. It often looks like a heavy-duty belt.
A longer strap is fastened to the rigging on the opposite side of the western saddle—this is called the latigo. Like the billet, the latigo has holes punched into it. Feed the latigo through the cinch ring, and then back up and through the rigging ring, forming one or two complete loops from rigging ring to cinch buckle. When you reach a hole in the latigo that allows the cinch to fit snugly—but not tight—buckle it in place. Then feed the leftover end of the latigo through the slot in the jockey, which is the leather tab below the saddle horn.
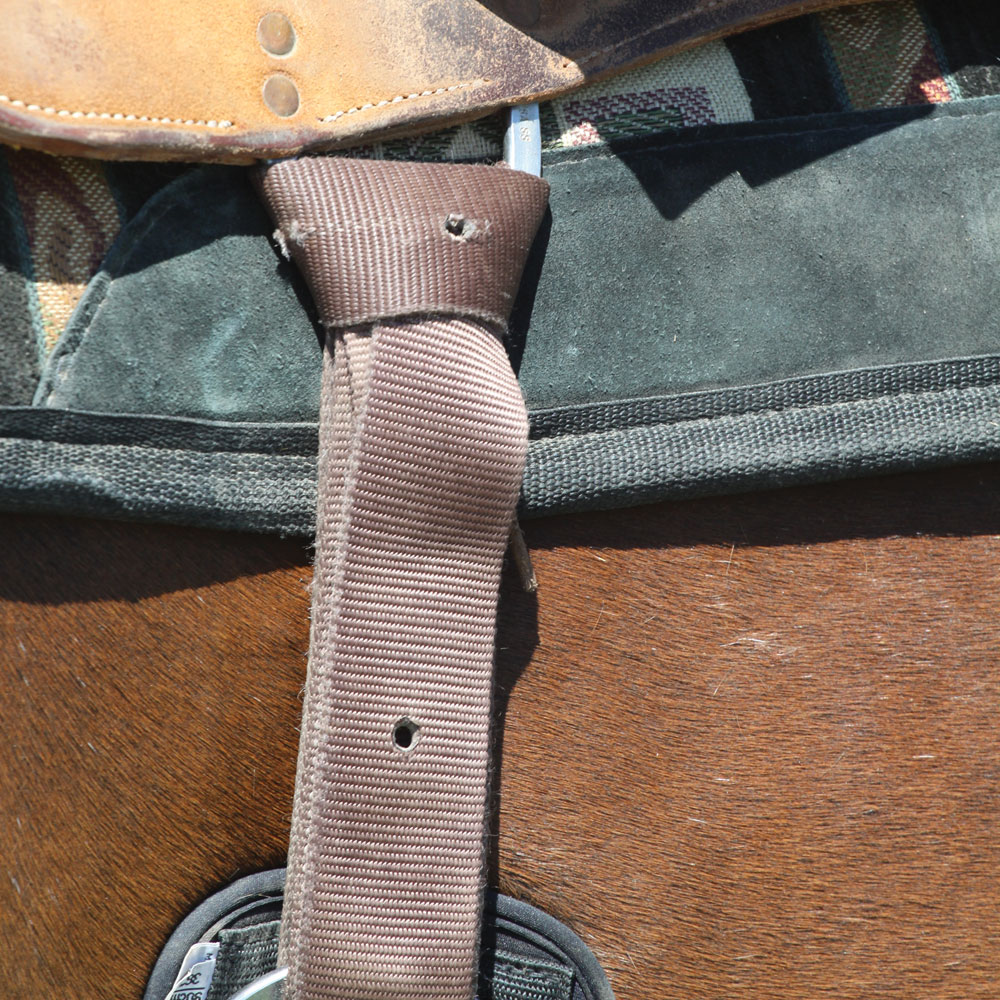
Latigo Knot
Most cinches today are designed to buckle, but some camps and lesson barns have older saddles. These require a latigo knot:
- After making two loops from the cinch to the saddle, slide the end of the latigo through the left side of the rigging ring.
- Next, bring it across horizontally (toward your horse’s tail) and back through the right side of the rigging.
- Pull the end through the loop formed and snug it up. It should resemble a man’s necktie.
- To tighten, pull the loops out and up and take up the slack.
Check Twice
Always walk your horse for a moment or two before tightening the cinch any further. This gives your horse a chance to exhale and relax his back muscles, which lets the saddle to settle into its best, natural position behind your horse’s withers.
Before mounting, check your cinch and tighten the latigo a hole or two if necessary. The cinch must be snug enough to prevent your saddle from shifting when you step into the stirrup, yet it should never pinch your horse. You should be able to slip a finger between the edge of the cinch and your horse’s side.
Now that your western saddle is properly in place, it’s time to climb aboard. Enjoy your ride!
This article originally appeared in the January/February 2019 issue of Young Rider magazine. Click here to subscribe!


