At small horse shows without professional photographers on site, it’s usually up to friends and family members to take all the photos and record the classes on video. These photos and videos preserve wonderful memories for the future, but they’re also useful in the present for riders wishing to analyze their classes and strive for improvement. For anyone whose camera skills are a little rusty, here are some tips for taking better horse show photos and videos.
Photo Tips
Your phone can perform nicely for certain situations, like portraits after the class or overviews of the show scene. But for the best results, a DSLR camera is faster and generally does a much better job on action and equine portraits.
2. USE THE RIGHT LENS
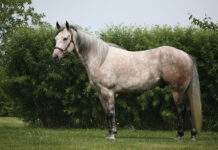
If you take a DSLR, which has removable lenses, to the show, you can choose the right lens for the task. Generally, horses look their best when photographed with longer lenses, such as 150mm. A long lens will also help you get closer to the action during the class. The zoom features on mobile devices aren’t nearly as sharp as a long DSLR lens, and the results from mobile devices are often more pixelated.
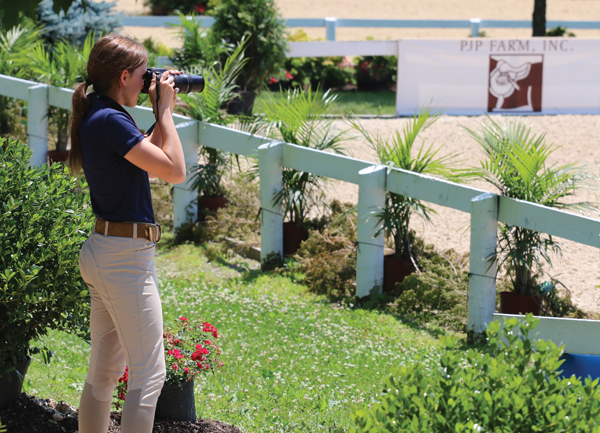
3. SHOOT OUTSIDE IF YOU CAN
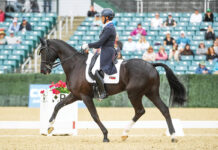
Outdoor arenas are ideal for photography. Things are a little more challenging if the class takes place in an indoor arena. Your camera might have trouble focusing and freezing the motion indoors. But you can always compromise and take some photos of your rider warming up outside in better light.
4. USE A HIGH SHUTTER SPEED
Do a little research ahead of time to learn how to adjust the shutter speed of your particular camera. Try to use at least 1/500th of a second to keep the action sharp!
5. DON’T FLASH
Flashes are best disabled at a horse show, just in case the light spooks any horses. Flashes can be useful outdoors for filling in shadows, but it’s not typically worth the risk. Indoors, raise the camera’s light sensitivity (“ISO”) to a higher level to compensate for the dim light.
Video Tips
6. SHOOT HORIZONTAL VIDEO
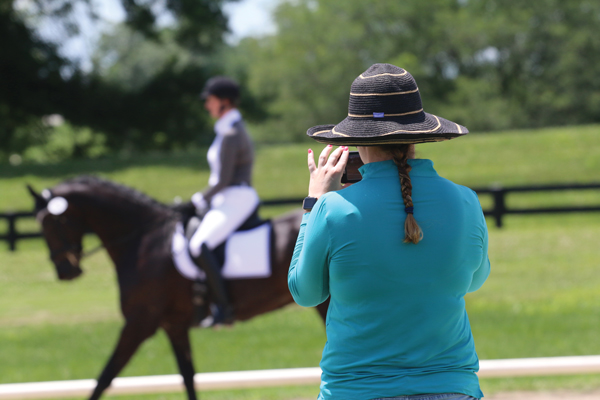
Your phone may be easier to hold in a vertical orientation, but that doesn’t mean you should shoot horse show videos that way! Videos in general look better and are easier to watch when they’re shot horizontally, and the setting and action of a horse show is much more suited to that orientation.
7. PAY ATTENTION
Sometimes people attempt to shoot show videos without really paying attention to the camera. They have the camera on and are recording, but they’re watching the class and not the camera. The shaky results are often worse than nothing. Stay focused and don’t multitask. If you’re going to shoot video, give it your full attention. Ideally, you would use a video tripod to keep things very steady; you can even find tripods for mobile devices or get a mobile phone attachment for a standard tripod.
8. KEEP THE CLIPS SHORT
Try not to film video clips that are too long; it will be almost impossible to find the part you want later. Filming short clips keeps things much more manageable.
LIGHTING TIPS
9. BEAT THE LIGHT
Sunny midsummer days are a real challenge for taking photos and shooting videos, especially at a horse show. High mid-day sun makes a strong contrast between the light and shadows, and the shadows usually end up very dark and unappealing in the photo. But the next tips offer solutions for this issue.
10. SHOOT WITH THE SUN BEHIND YOU
This is called “front lighting.” It usually isn’t the best for human portraits (too much squinting, along with shadows under the eyes and nose), but it works pretty well for horses. Front lighting also works well for photos of the class itself.
11. OR, SHOOT INTO THE SUN
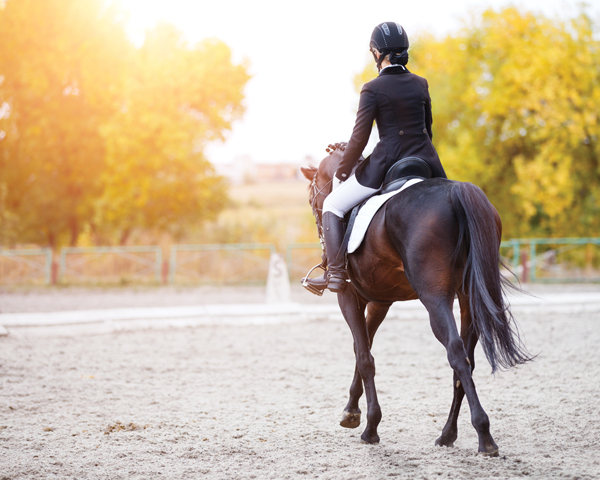
This is called “back lighting.” Depending on the conditions, this can be a very nice way to beat the shadows, but you have to watch out for lens flares from the sun. Also, you might run into trouble with very low contrast on dark horses.
12. DON’T SHOOT SIDE-LIGHTING
Between front lighting and back lighting is side-lighting, where half the subject is lit and half is in shadow. This is challenging to do well at midday, so try to avoid it.
13. EMBRACE THE CLOUDS
If you’re lucky enough to get some clouds, use them! Clouds reduce or eliminate the tough shadows, making your photos automatically come out more appealing. Clouds also boost the saturation of your colors. Obviously, you can’t control the weather, but you can be ready to shoot even more on the cloudy days.
General Tips
14. UNDERSTAND THE CLASS
Know what you’re recording. Take a minute to learn the course/pattern to better anticipate the action.
15. FIND A GOOD BACKGROUND
Watch what is happening behind your subject. There is probably a lot of visual chaos: tents, barns, trucks, tractors … and the dreaded porta potties. Try to find a place where you can shoot at least part of the class with a clean background. For after-the-class portraits, you can choose a nice location to photograph the horse and competitor.
16. TRY DIFFERENT VIEWPOINTS
Don’t always photograph or shoot video from a standing position. Try getting down lower and shooting from a sitting position or look for a higher (yet safe) vantage point if possible. Variety keeps your work interesting.
17. SHOOT MOMENTS
Everyone is looking at the arena. Take a few moments to look the other way—at the grandparents setting up the shade tent, the pony being groomed for the next class, and the husband holding the dog’s leash plus his wife’s other horse. You’ll find a million tiny moments just waiting to become treasured photos.
These tips on taking better photos and videos at a horse show appeared in the June 2020 issue of Horse Illustrated magazine. Click here to subscribe!

